Wireless teacher / student cable

Express delivery

Large selection of carriers

Satisfaction guarantee
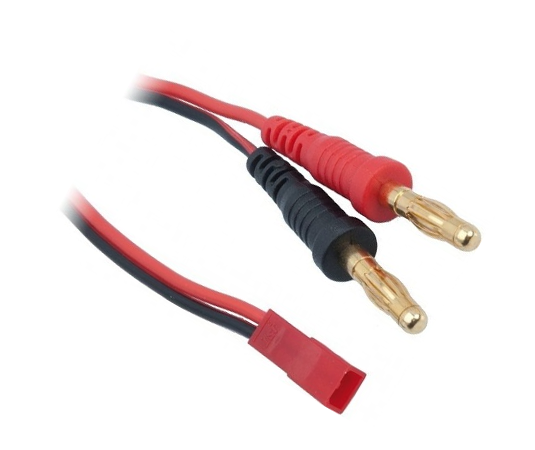
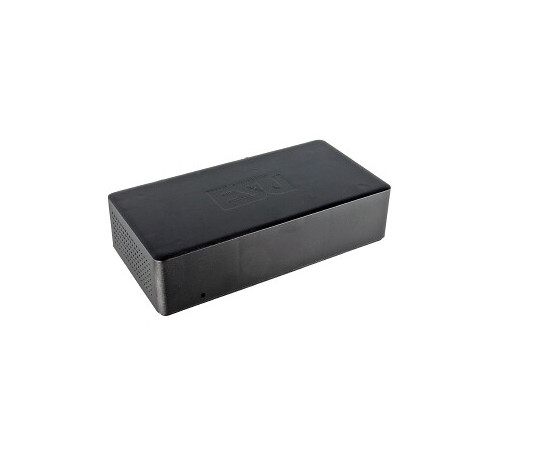
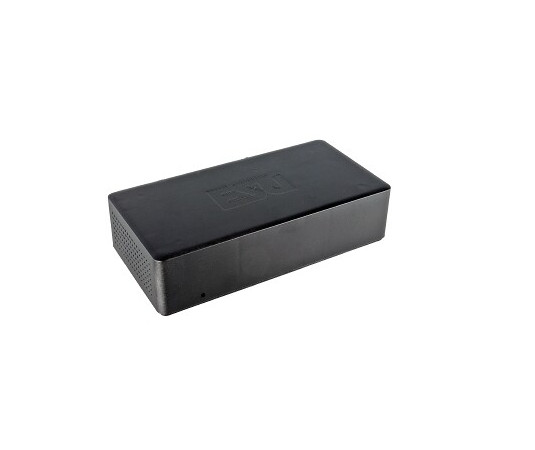
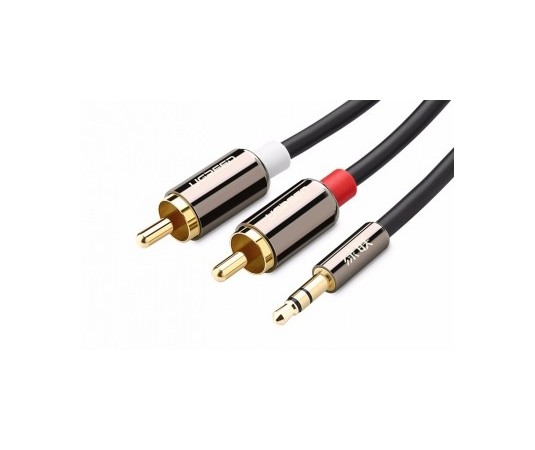
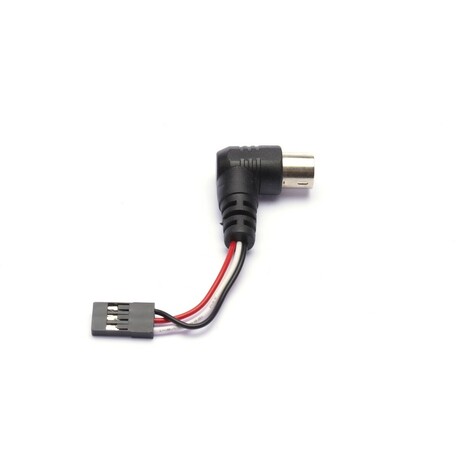
The cable for the teacher-student wireless system allows the wireless connection of two Radiolink transmitters. It serves as an adapter plugged into the teacher-pupil socket of the teacher transmitter, to which a receiver with a PPM output paired with the pupil's transmitter is connected.
Teacher transmitter
The teacher transmitter (AT9S or AT10II) is paired with the receiver in the model that will be controlled by the teacher-pupil system. The model is programmed in the memory of the teacher's transmitter, flown and the correct functioning of all controlled functions is checked. In the BASIC / Trainer menu, the transfer of control between the teacher and the student is activated. it is programmed which channels are passed to the pupil and how. To begin with, we recommend using the "FUNC" mode, which uses the full model setting in the teacher's transmitter memory, while only the driver's deviations are taken from the pupil's transmitter (which makes it possible, in principle, to control the helicopter model with the T8FB, although the T8FB helicopter program does not have ).
Pupil transmitter
The pupil receiver (T8FB, AT9S or AT10II) is paired with a compatible receiver that is set to the PPM serial output operating mode. If the student transmitter allows it, set the same type of model and other parameters as the transmitter (this is not necessary when using the "FUNC" mode).
- T8FB - compatible receivers: R8EF, R8FM Mini
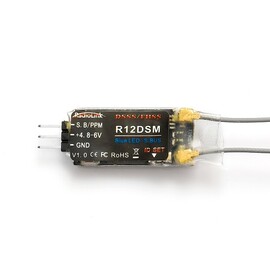
- AT9S - compatible receivers: R6DS, R6DSM, R12DSM Mini (requires transmitter firmware upgrade to 12-channel operation)
- AT10II - compatible receivers: R6DS, R6DSM - require to switch the broadcast mode to "10CH" on the transmitter in the BASIC / SYSTEM / CH-SELECT menu, R12DSM Mini
Commissioning
1. Turn on the pupil transmitter.
2. Turn on the teacher transmitter, connect the teacher-pupil wireless cable with the receiver to the Trainer on the teacher's transmitter. Make sure the receiver is operating in the PPM output mode and the connection cable is plugged into the correct receiver socket (see the receiver's operating instructions).
3. Turn on the model and check that its operation by the teacher transmitter is working properly.
4. Switch the teacher-pupil switch on the teacher transmitter to the on position to give the pupil control. Now try again whether the model control by the transmitter is working properly - check that the neutral position is correct (do not change position when transmitting the servo control), the correctness and magnitude of the deflections of all rudders and other controlled functions. Adjust the student transmitter settings as needed.
5. You can take off!
Package includes: Cable for teacher-student wireless system, instructions.


